Connection Tool
The Connection Tool can be used to draw lines for connecting one figure to another and makes it easy to create connected graphs such as flow charts.
Perform the following actions to create a connected graph on the Drawing Canvas:
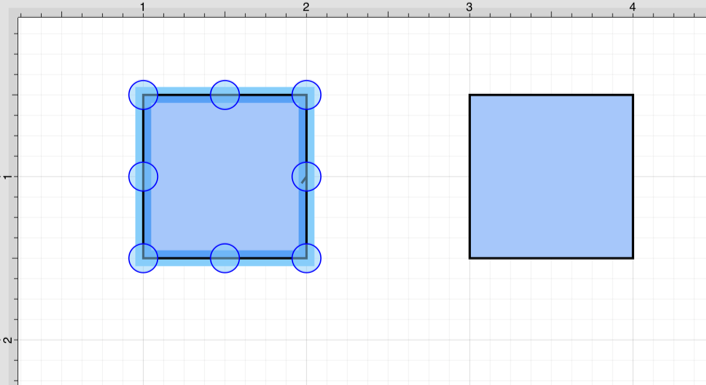
Step 1: Begin by creating two figures and then select the Connection Tool. All figures, including path shapes, text blocks, and images, can be connected except lines and open paths.

Step 2: Maneuver the mouse to the desired connection point in the first figure and perform a Click action. The figure will be “highlighted” with a light blue border when the selection has been performed correctly. The light blue border indicates the ability to connect the figure.
Step 3: Use the trackpad to drag from a point in the start figure to a point in the end figure where the connection will terminate. When the mouse is within the “target” figure, it will be “highlighted” with a light blue border. The light blue border indicates the ability to connect the second figure to the source figure.
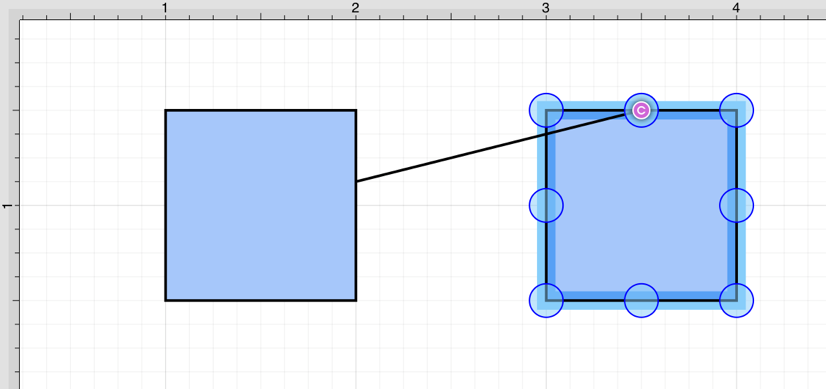
Step 4: The connection line will be created between a point on the start figure and the chosen point within the target figure when the Click action is released.
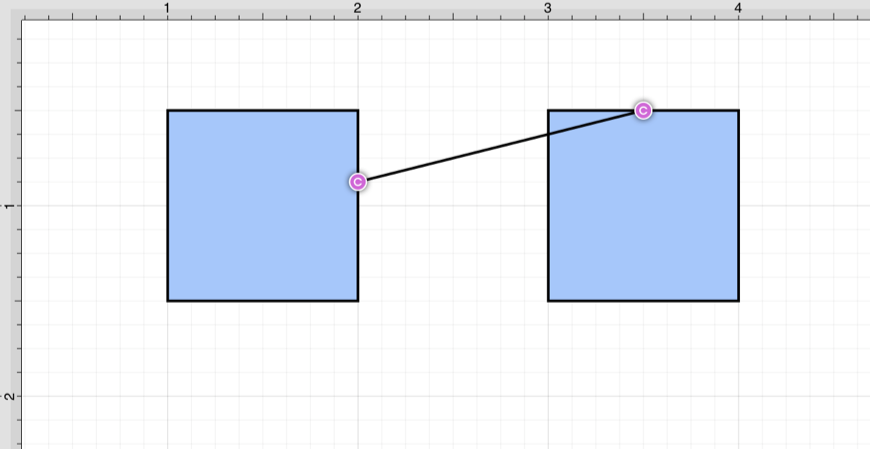
Note: After a connection line is created, perform a Click/Drag combination on a connection handle to change its position within the start or end figure.
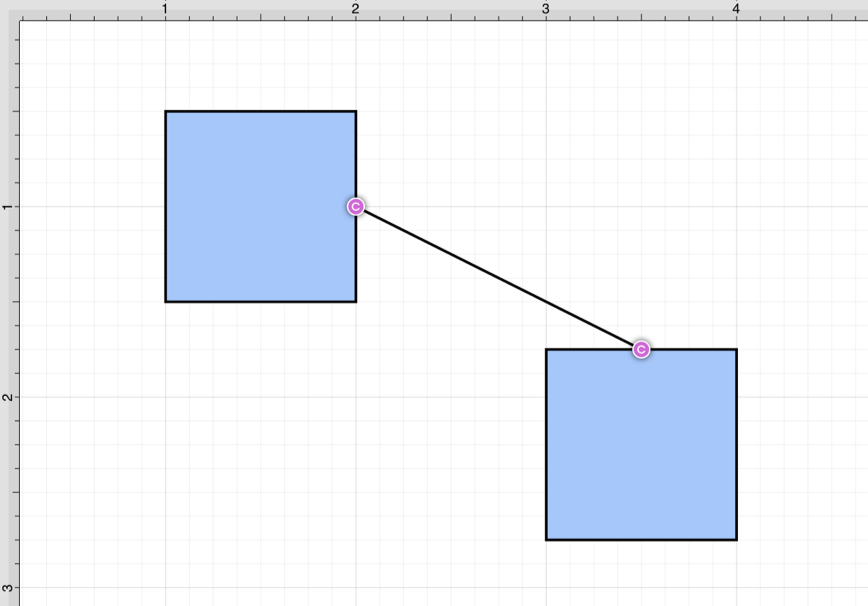
Step 5: Performing a Click/Drag combination on the second figure after the connection is established results in the connection line position being adapted to keep the two figures connected.
Text Location and Orientation
Text can be added and attached to a Connection Line. The location and orientation of the attached text can be altered for Connection Lines within the Text Tab.

Additional Information
To learn more about using different connector types and the connection tool, please see the following pages:
- Changing-Connection-Types
- Line Connection Tool
- East-West Connection Tool
- North-South Connection Tool
- Horizontal-Vertical Connection Tool
- Vertical-Horizontal Connection Tool
- Path Connection Tool
- Hub Connection Tool
Table of contents
- Changing Connection Types
- Line Connection Tool
- East-West Connection Tool
- North-South Connection Tool
- Horizontal-Vertical Connection Tool
- Vertical-Horizontal Connection Tool
- Path Connection Tool
- Hub Connection Tool