Polygon Tool
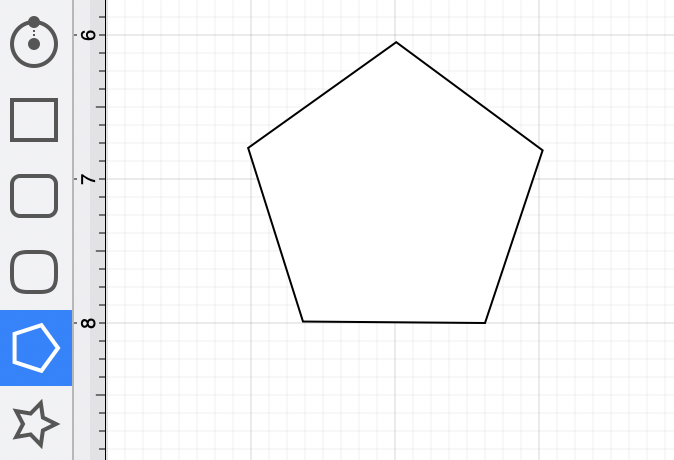
The Polygon Tool can be used to create regular polygons within a drawing.
To use the tool, select it and then use a Click/Drag combination at the point in the Drawing Canvas where the center of the polygon will be. Then drag in any direction and release the Click action where one of the outer points of the polygon should reside on the Drawing Canvas.
Additional Information for Smaller Screens
The Drawing Toolbar has an intuitive design that adjusts to match the screen size or application window size on a Mac.
For smaller devices, some tool buttons may be combined to form a pop-over menu.
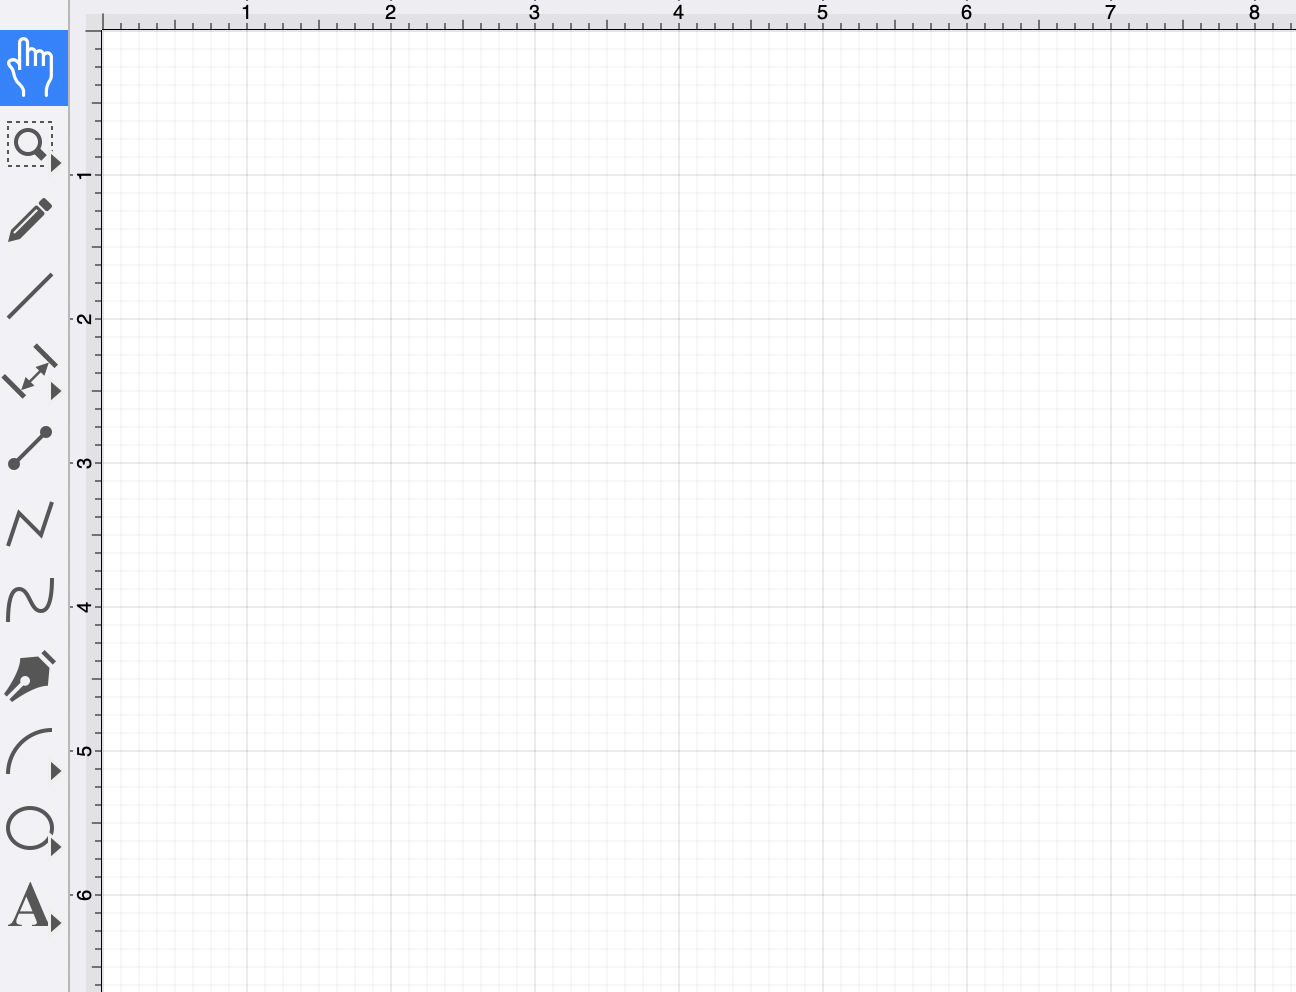
To select the Polygon Tool for smaller screen sizes or a smaller application window, perform an extended Click on the Oval Tool in the Drawing Toolbar and then Click on the Polygon Tool within the pop-over menu.

How to Change the Number of Sides
The number of polygon sides can be specified before drawing the shape or altered after it has been created. To set the number of sides after creating a shape:
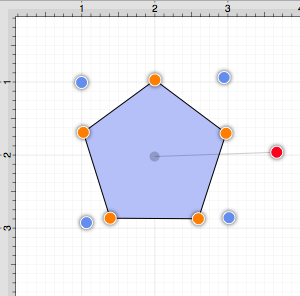
Step 1: Choose the Selection Tool in the Drawing Toolbar and highlight the desired polygon.
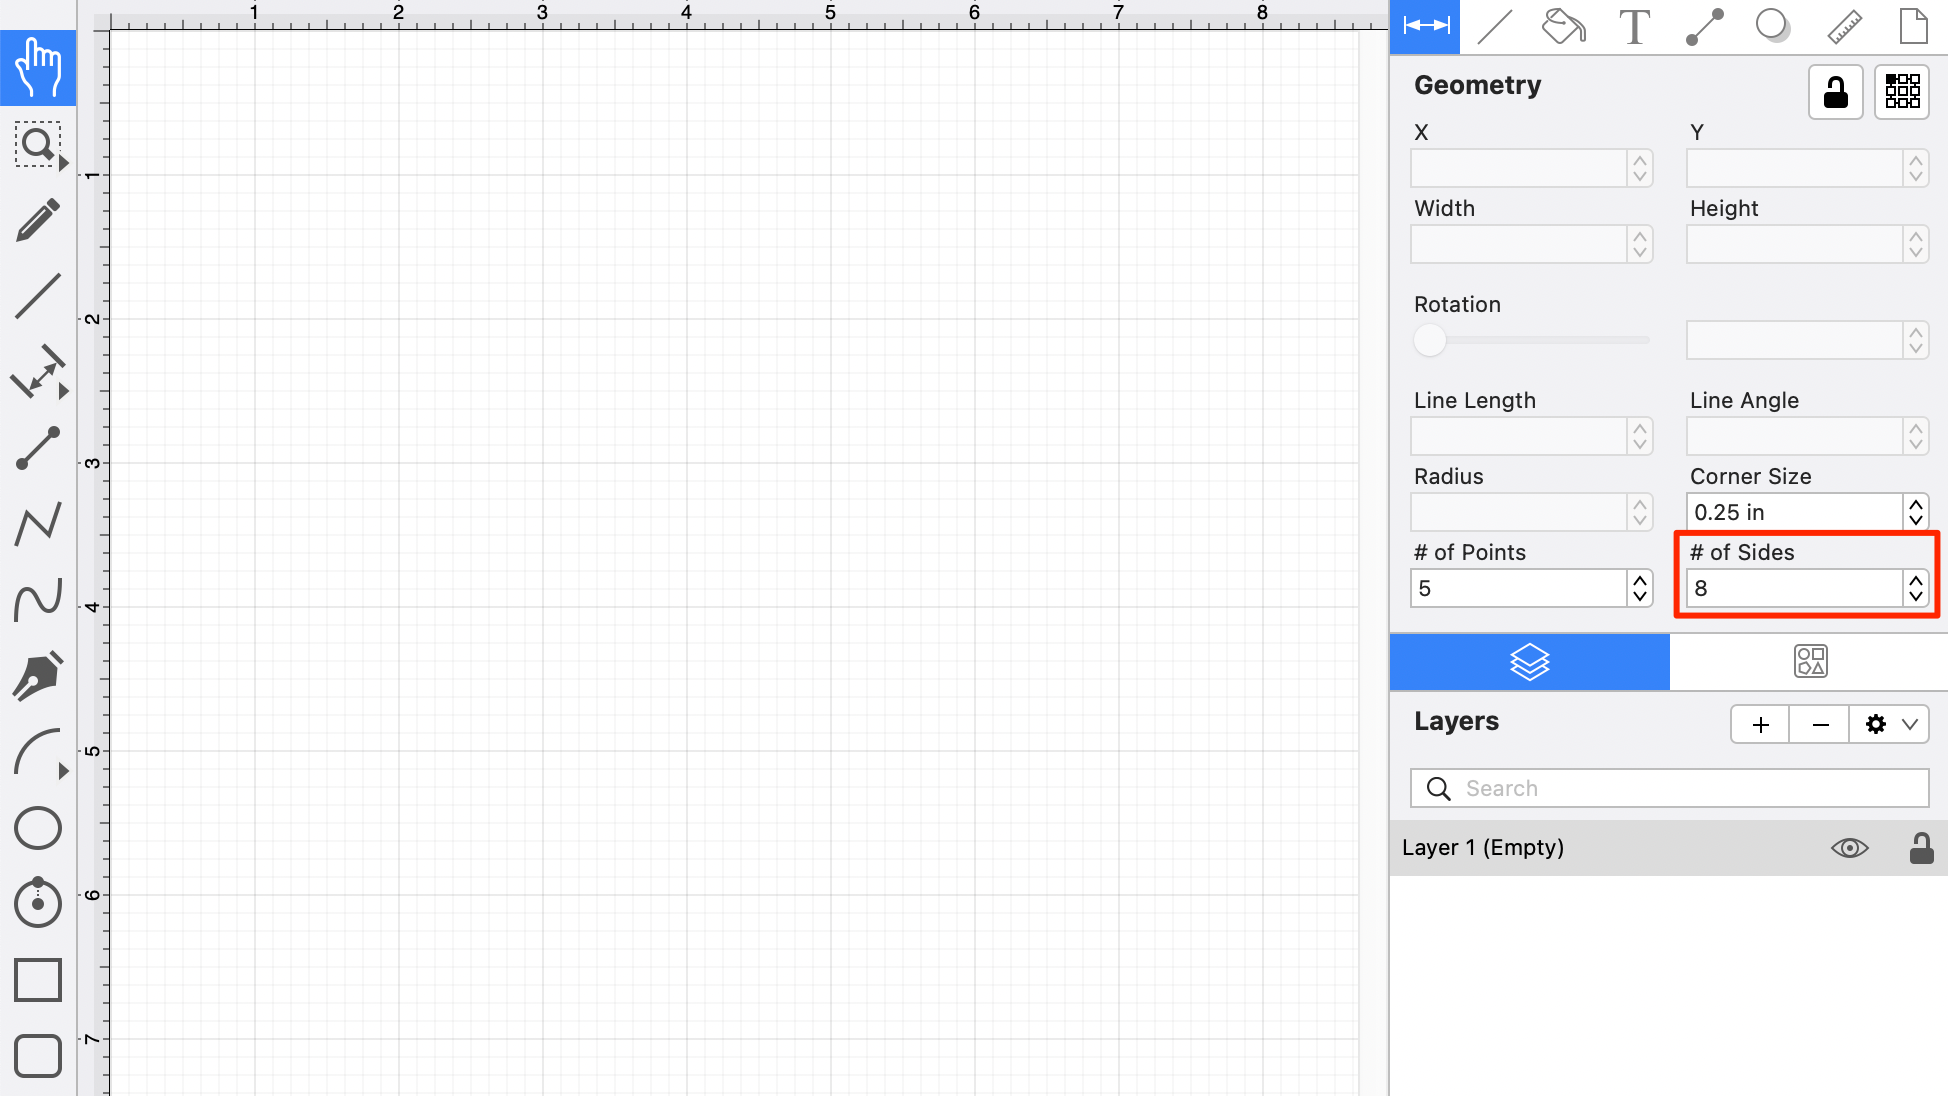
Step 2: Click on the Geometry Tab within “Info” section of the Sidebar.
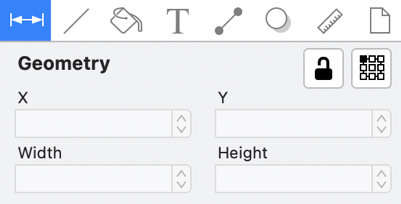
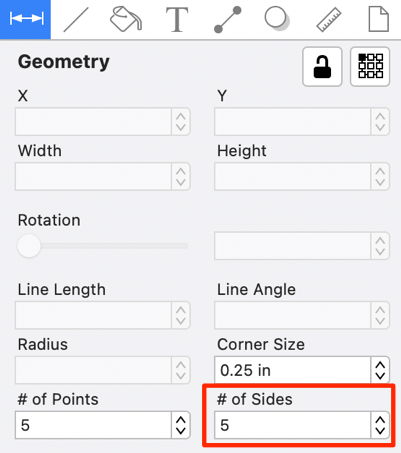
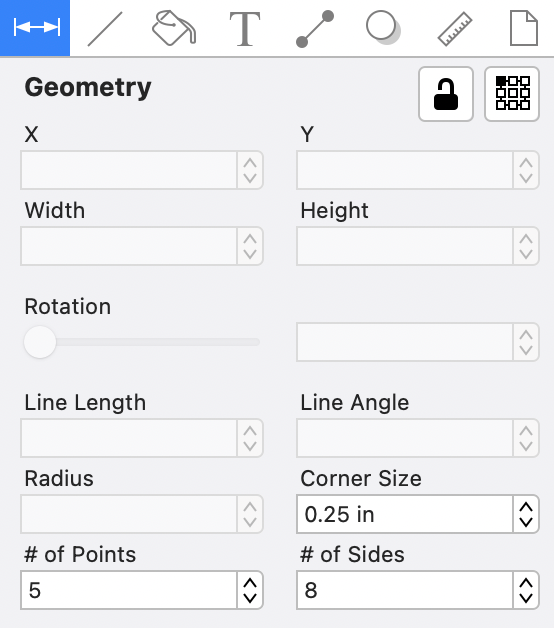
Step 3: The # of Sides option can be used to set the number of sides. Use the “up” or “down” buttons to change the value or click on the text entry field to key in a value.
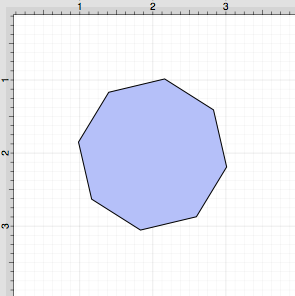
Step 4: In the example below, the value has been changed to 8.
This measurement can also be altered before creating a shape by choosing the Selection Tool and changing the # of Sides setting within the Geometry Tab.
Note: A polygon can also contain text. See the Handling Text section for additional details.