Fill Color
The Fill Color of a selected figure can be changed to meet a desired preference. It can be altered for a selected figure(s) or in instances where no figures have been selected.
If a figure has not been selected, the color change applies to any figure added after the change. This attribute can be altered in one of the following ways:
-
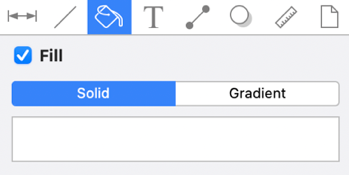
Click on the Fill Tab to open the popover window shown below.
-
Click on the Fill Color Button in the Format Bar.

To alter the Fill Color:
-
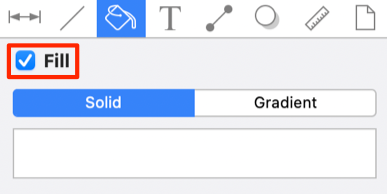
Click on the Fill Checkbox in the upper right hand corner of the Fill Window to turn on the Fill option. The checkbox will have a checkmark when this option is enabled.
-
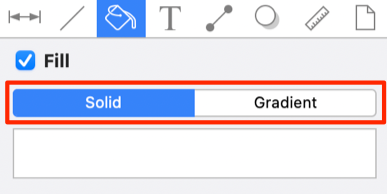
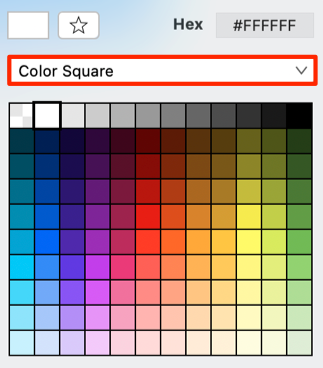
Then choose a Fill option (Solid, Gradient, Pattern, or Image). The current selection will be highlighted in gray.
-
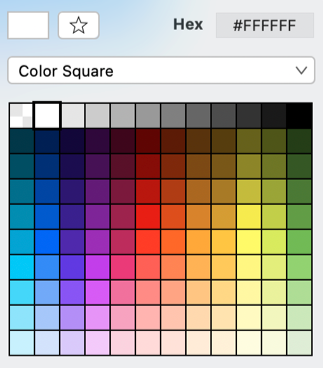
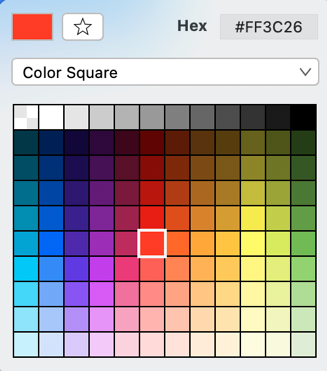
To select a pre-defined color in the Color Square, simply click on the desired color.
-
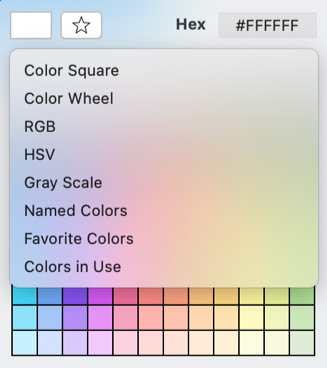
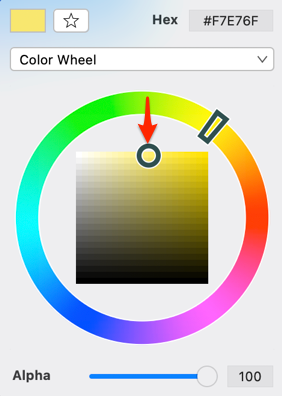
You may also configure a color by choosing an option from the Color Selection Menu: Color Wheel, RGB, HSV, Gray Scale, Named Colors, Favorite Colors, or Colors in Use. To do so, click on the menu and then click on an option.
-
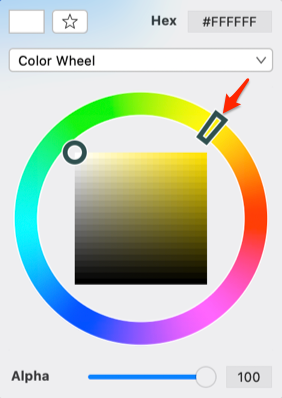
If using the Color Wheel, first click on the desired color range within the outside of the wheel view. Then choose the desired lightness or darkness of the selected color in the center (saturation) square.
-
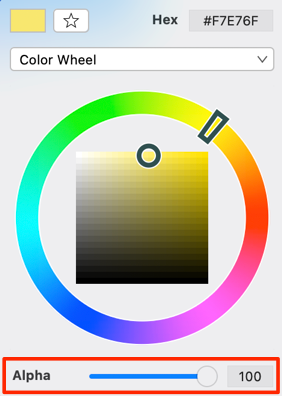
Perform a Click/Drag gesture combination or Click on additional options such as the opacity slider within the Fill Window to make further attribute changes.
-
Click anywhere within the Drawing Canvas to close the window. The following screenshots show a figure that has been changed to a light blue fill.
Note: A color change will be seen instantaneously when a stroke figure is selected. If no figures have been selected, the color change will apply to all subsequently created stroke figures.